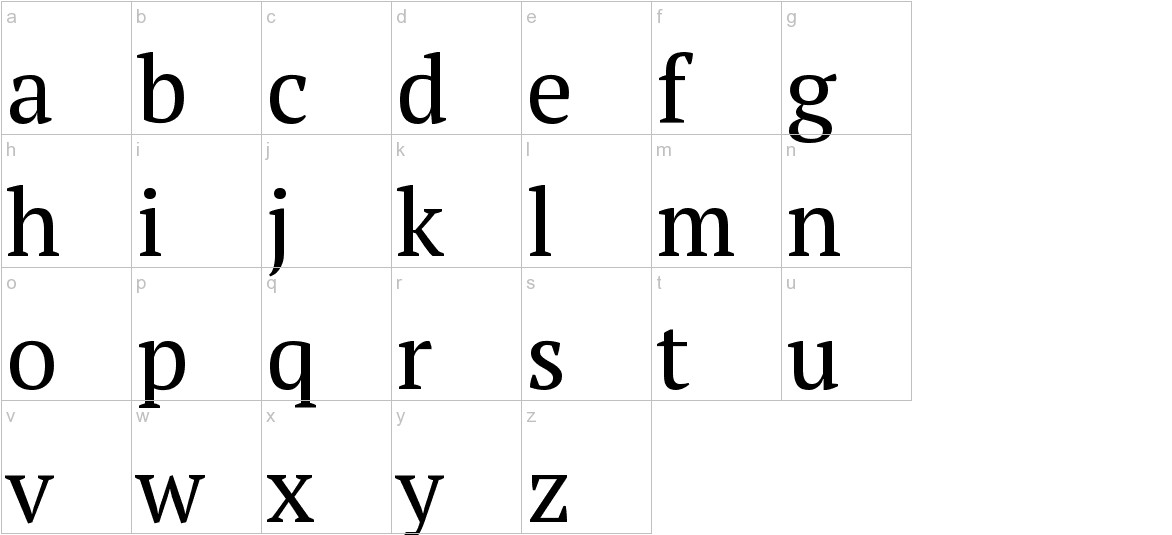
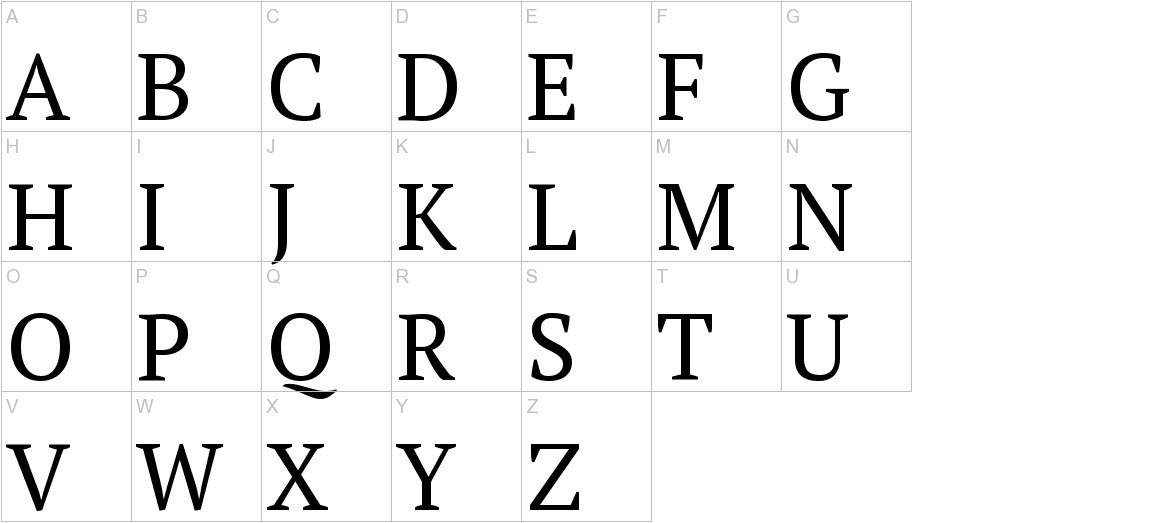
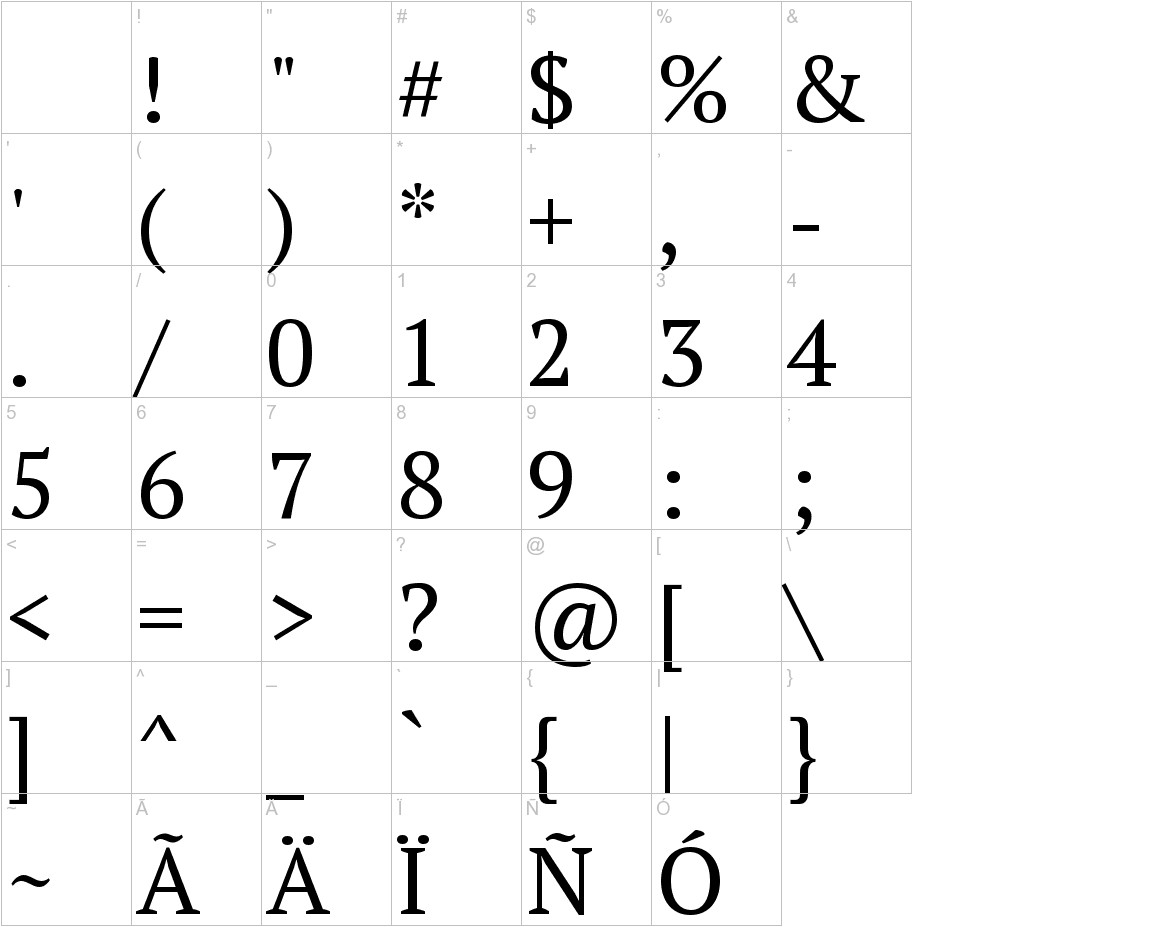
Installing PT Serif Font on Mac: A Step-by-Step Guide
Step 1: Download and Unzip the Font File
- Begin by downloading the PT Serif font zip file.
- Locate the downloaded file on your Mac, typically in the Downloads folder.
- Double-click on the zip file to extract its contents.
- You should now see a folder named PT Serif containing the font’s TTF file.
Step 2: Add the Font to the Font Book
- Open the Font Book application on your Mac. You can find it in the Applications folder or by using Spotlight Search.
- Click on the Add Fonts button located in the toolbar (it resembles a plus sign inside a circle).
- Navigate to the folder where you extracted the PT Serif font (typically named PT Serif).
- Select the PT Serif.ttf file and click on Open.
Step 3: Activate the Font
- Once the font is added to the Font Book, it will appear in the list of available fonts.
- To activate the font, simply click on the checkbox next to its name in the Font Book.
- You can also double-click on the font’s name to open a preview window, where you can see how the font looks in different sizes and styles.
Step 4: Use the Font in Your Applications
- Now that the PT Serif font is activated, you can use it in any application that allows you to change the font, such as word processors, presentation software, and design tools.
- Open the application where you want to use the font.
- In the font selection menu or toolbar, look for the Font or Typeface option.
- Click on the drop-down menu and scroll through the list of available fonts until you find PT Serif.
- Select PT Serif from the list to apply the font to your text.
Troubleshooting:
- If you’re unable to see the PT Serif font in your applications, make sure you have restarted the application after activating the font in the Font Book.
- If the font still doesn’t appear, try restarting your Mac.
- If you encounter any other issues, consult the documentation or support resources provided by the font’s creator.
Enjoy using the PT Serif font on your Mac!


