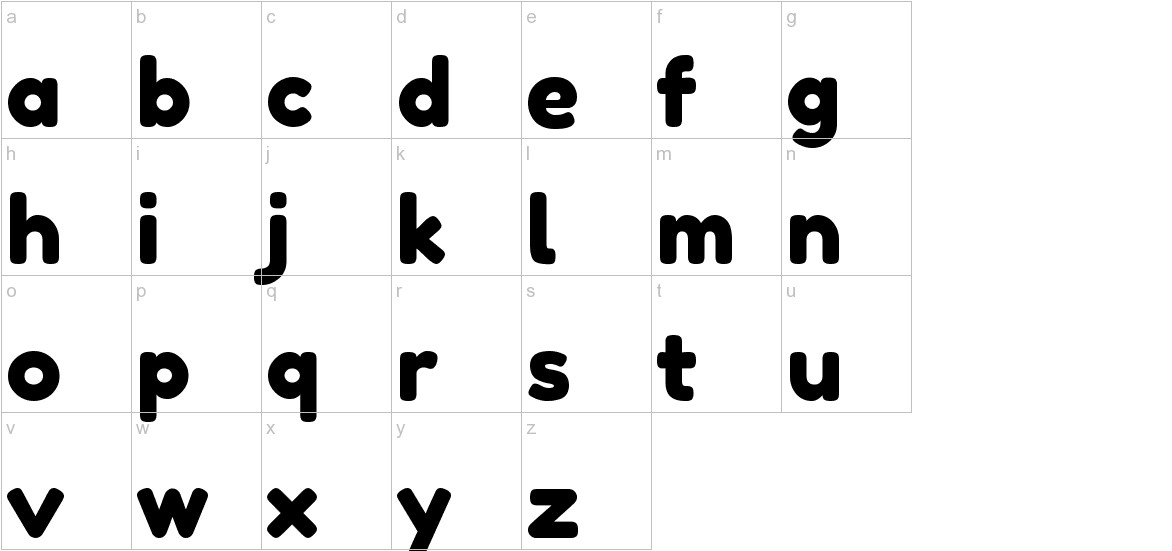
How to Install the Fredoka One Font on Mac:
Extract the Font File:
- Double-click on the downloaded zip file to extract its contents.
- You should now see a TTF file named FredokaOne-Regular.ttf.
Open the Font Book Application:
- Go to the Applications folder on your Mac.
- Find and open the Font Book application.
Add the Font File:
- Drag and drop the FredokaOne-Regular.ttf file into the Font Book window.
- Alternatively, you can click on the File menu, select Add Fonts, and navigate to the extracted TTF file.
Activate the Font:
- Once the font is added to Font Book, it will appear in the list of fonts.
- Click on the Fredoka One font to select it.
- Click on the Install Font button located at the bottom right corner of the window.
Confirm Installation:
- You will be prompted to enter your Mac’s password to confirm the installation.
- Enter your password and click on the Install button.
Verify Installation:
- Once the installation is complete, you can check if the font is installed correctly by opening a text editor or design application.
- Select the Fredoka One font from the font menu to see if it’s available.
Use the Font:
- Now you can use the Fredoka One font in any application that supports custom fonts.
- Select the font from the font menu to apply it to your text.
Additional Notes:
- The Fredoka One font is free for personal and commercial use.
- If you are unable to install the font using the above steps, you can try restarting your Mac and trying again.
- If you still have issues, you can contact the font’s creator for further assistance.